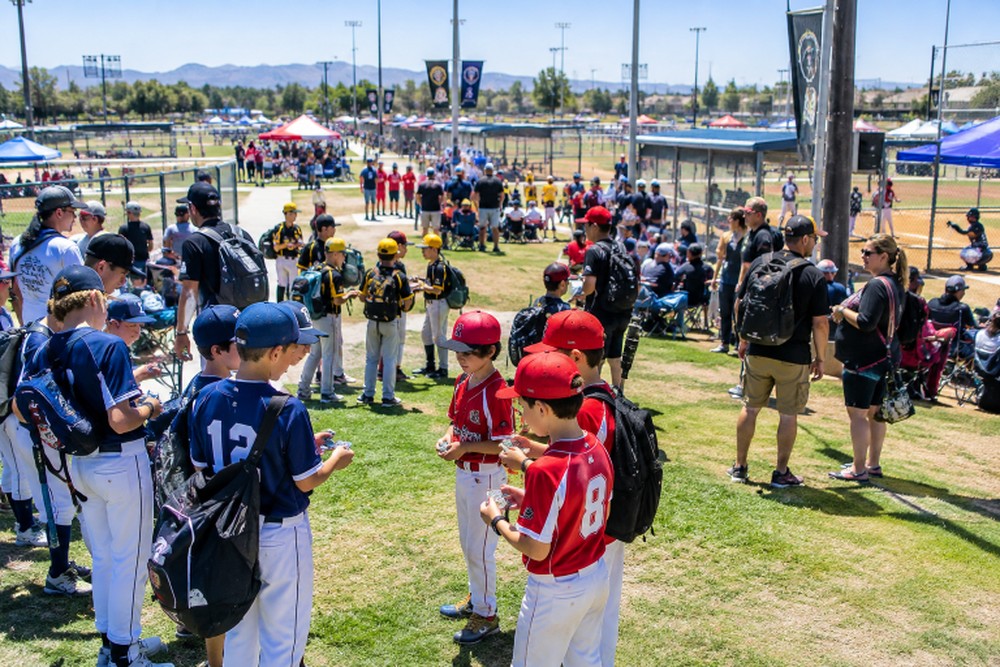
Youth sports tournaments are about more than scores and standings. Between games, players often have time to meet athletes from other communities, compare team gear, and share stories about where they traveled from. Bringing pins for your team can give those conversations a simple starting point and leave every player with a small reminder of the experience.
A well-planned trading pin represents a team’s identity, but its value is often social. A player may remember the new friend who traded it, the tournament city printed on it, or the teammate who helped choose its colors. With a clear design, enough pins for the event, and a few fair-trading expectations, teams can make the tradition enjoyable for everyone.
Why Trading Pins Still Matter at Tournaments
Pin trading adds a shared activity to the time before games, after games, and between events. It helps players connect even when they do not share the same age group, hometown, or competitive level. At major destination tournaments, the tradition can become part of the event culture. For example, youth tournament baseball pin trading at Cooperstown Dreams Park includes designated trading opportunities for players, siblings, families, and teams.
Unlike a trophy that stays with one team, a traded pin travels home with a different player. That makes it a personal keepsake of the people and places encountered during the season. A pin can also help shy players start a conversation without needing to know exactly what to say first.
What Makes a Team Pin Memorable?
A memorable pin does not need to include every detail about the team. In fact, the strongest designs are usually easy to understand at a glance. Start with a team name, mascot, colors, or a symbol connected to the community. When space allows, add the tournament location, event name, or year.
- Choose one main image: A mascot, ball, landmark, or local symbol provides a clear focal point.
- Keep lettering readable: Large, concise text is easier to recognize than several lines of tiny words.
- Use contrast carefully: Dark lettering on a dark background can disappear in direct sunlight.
- Make the shape work: A simple outline often stays recognizable better than a crowded layout.
Choosing a Design Theme
Begin by listing the details that make the team distinct. Players may identify most strongly with their mascot, a favorite team phrase, a local landmark, or an inside joke from the season. Then narrow those ideas to one visual direction. A coastal team might use a wave, a mountain team could feature a trail marker, and a city team might incorporate a recognizable skyline element.
Limit the palette to two or three main colors, then decide whether the finished pin should feel bold, playful, classic, or location-focused. Inviting players to sketch ideas or vote on a few concepts turns the design process into a team activity before the tournament even begins.
Features That Add Interest Without Clutter
Optional features can make a pin feel special, but they should reinforce the central idea rather than compete with it. Layered artwork can create depth, cut-out sections can lighten the design, and moving pieces may add a playful element. Glow details, glitter, numbered editions, or a limited color variation can also appeal to collectors.
Each added feature may affect cost, production time, or both. Teams should choose the details that fit their budget and schedule, rather than simply adding every available option. A simple pin with a strong mascot and legible team name is often more successful than an elaborate design that is difficult to read.
How Many Pins Should a Team Plan For?
There is no universal quantity because tournament size and trading interest vary. Start by counting players, coaches, and staff, then add an allowance for siblings or family members who may participate. Set aside a small reserve for umpires, volunteers, friendly exchanges, and lost or damaged pins.
- Plan for every player to have a personal trading supply.
- Keep a few extras with a coach or parent for unexpected opportunities.
- Consider a larger reserve for a destination event with many participating teams.
- Separate sentimental or display pins from the ones intended for trading.
Plan the Design and Order Timeline
Early planning gives the team time to make thoughtful choices. As a practical guideline, begin six to eight weeks before the event by choosing a theme and gathering artwork ideas. About five to six weeks out, review the digital proof and confirm spelling, colors, and event details. Around four weeks before departure, finalize the quantity and production details.
When the shipment arrives, inspect it about two weeks before the tournament if possible. Before leaving, divide pins among players and discuss trading expectations. Ask about proof revisions, production timing, shipping time, and potential rush fees before placing the order.
Simple Trading Rules for Young Players
- Ask before touching another person’s pin board, bag, or collection.
- Complete a trade only when both people clearly agree.
- Do not pressure someone to trade a favorite, rare, or sentimental pin.
- Avoid teasing others about the size or value of their collections.
- Keep pins secured when walking between fields or gathering areas.
- Ask a coach, parent, or event adult for help if a disagreement occurs.
The goal is connection, not winning a trade. Every player should feel comfortable accepting, declining, or taking time to think about an exchange.
How Parents and Coaches Can Support the Tradition
Parents and coaches can set a clear budget, help younger players organize their supply, and explain fair-trading habits before the first exchange. One useful approach is creating a shared team pin board for extras. Players can gather around it between games, see what is available, and begin conversations with visiting teams without feeling rushed.
Pin Design as a Creative Team Activity
Giving athletes a role in the artwork makes the finished pin more meaningful. Players can sketch mascots, suggest color combinations, or describe what makes the tournament location memorable. Their ideas can become part of the story they tell while trading.
Player-created designs can also celebrate inclusion and community. In 2026, Little League’s Challenger Division pin design contest selected athlete artwork to become trading pins distributed at its annual exhibition game.
Common Mistakes to Avoid
- Using too much text in a small space.
- Selecting colors that blend together or are hard to see outdoors.
- Waiting too long to approve artwork and quantities.
- Ordering too few pins for an event with active trading.
- Adding decorative features that distract from the team identity.
- Assuming every player wants to trade at the same pace.
Frequently Asked Questions
Are trading pins only for baseball teams?
No. The same idea works for softball, soccer, hockey, basketball, volleyball, and other youth sports. The artwork should reflect the team, sport, and tournament setting.
Should every player receive the same pin?
A shared team design is the simplest approach and helps players recognize one another. If the budget allows, teams can also create a small player, coach, or limited-edition variation.
What should a first-time team include?
Start with the team name, mascot, main colors, event details, and one clear visual theme. A straightforward design is easier to recognize, explain, and trade.
How can players protect their collections?
Pin boards, fabric banners, lanyards, small cases, and labeled storage bags can help keep collections organized. Rare or sentimental pins should be stored separately from everyday trade items.
Conclusion
Trading pins are small, but they can add a lasting social layer to a youth sports tournament. Early planning, a clear design, and respectful trading habits help turn a simple team item into a shared memory. The best pins tell a straightforward story about who the players are, where they came from, and the experience they created together.