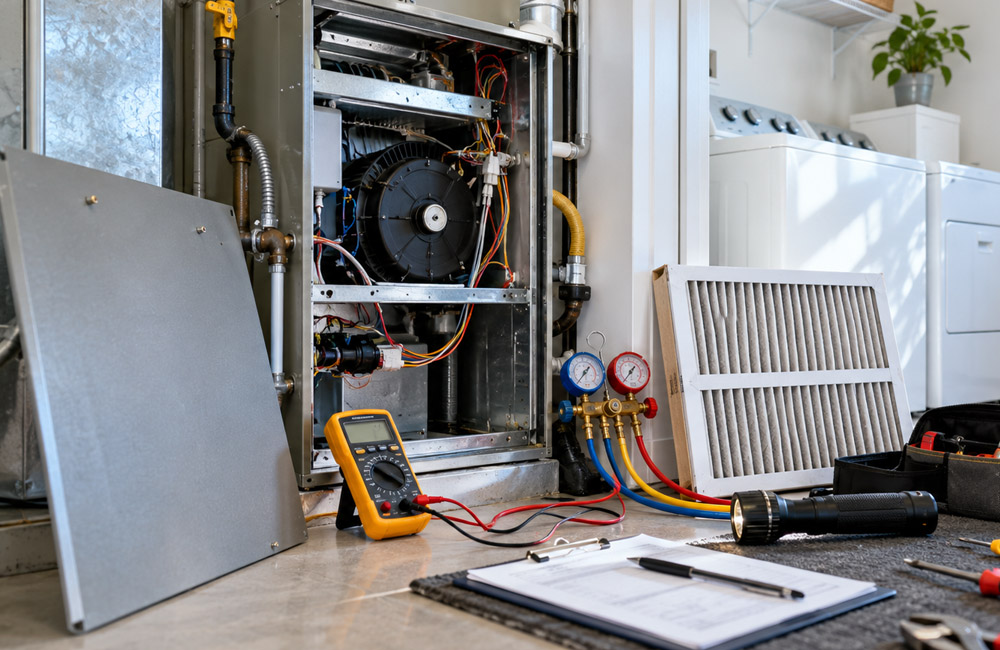
Moorpark’s long, dry summers and cool evenings put home HVAC systems to work. When air stops feeling cold, the furnace starts short cycling, or a breaker trips, a repair visit can feel urgent. Knowing what a technician will actually test and why they test it can help you prepare, ask sharper questions, and avoid repeat breakdowns. This walkthrough focuses on the practical steps a pro takes inside a typical Moorpark home, from thermostat checks and airflow measurements to electrical and refrigerant diagnostics. You will also see where homeowner habits play a role, why certain parts fail in heat, and which trade-offs matter when a system is aging.
First checks a technician makes: thermostat, power, and airflow.
Most visits start at the thermostat and power sources. A pro confirms set points, mode, and sensor accuracy, then checks the furnace switch, outdoor disconnect, and panel breaker. From there, the pro checks airflow: the return filter for collapse or clogging, the blower compartment, and a quick temperature split across the evaporator coil (the delta T) to see whether air is cooling. Homeowners searching for HVAC Repair in Moorpark, CA often assume refrigerant is low. Still, a starved blower or blocked filter can mimic the same symptom by icing the evaporator coil and cutting capacity.
Consider a common Moorpark scenario: it is 98 degrees, and the AC is blowing lukewarm air. The technician finds a high MERV filter installed in an undersized return grille. Static pressure is elevated, airflow is low, and the suction line is frosted. Thawing the coil and swapping to a less restrictive filter immediately raises airflow. The relationship is clear: too much restriction raises static pressure, lowers cubic feet per minute at the coil, and encourages ice formation that further chokes airflow.
Electrical failures that stop cooling on hot afternoons
Heat exposes weak electrical parts. A multimeter check of the run capacitor verifies microfarads; a weakening capacitor can keep a condenser fan or compressor from starting and spike amperage, which may trip a breaker. Inspect the contactor for pitted points that stick or fail to pull in. Technicians also measure blower motor draw and look at wiring for heat damage at the lugs. Resetting a breaker repeatedly without finding the cause is a mistake. The underlying relationship is direct: high starting torque on a tired compressor plus a soft capacitor equals nuisance trips and intermittent cooling, especially during peak afternoon demand.
How refrigerant diagnostics pinpoint leaks and low charge
Refrigerant side testing is structured, not guesswork. Technicians measure pressures and pair them with line temperatures to calculate superheat and subcooling. Low suction pressure with high superheat often indicates a starved evaporator. High head pressure with low subcooling can suggest a restriction, such as a clogged filter drier or a sticky thermostatic expansion valve. Visual frost on the suction line may be present, but numbers confirm what the eye sees. If charge looks low, many techs perform an electronic leak search at typical points: service valves, braze joints, coil U bends, and the evaporator pan area where oil staining can appear.
Here is the trade-off homeowners face: topping off a system that is slowly leaking is a short-term fix that tends to repeat and can compound issues by allowing moisture into the circuit. Locating and repairing a leak, or replacing a leaking evaporator coil or condenser, is a bigger upfront decision. Still, it prevents continual low-charge operation that overheats the compressor and erodes efficiency. Overcharging to mask a problem isn’t a solution either; excess refrigerant raises head pressure and reduces heat transfer across the condenser coil.
When the heat kicks on: common furnace side shutdowns
Once nights cool down, furnace faults show up. A frequent cause of short cycling is a dirty flame sensor that fails to prove flame, prompting the control board to shut the gas valve and retry. Technicians clean the sensor, then confirm inducer motor performance, verify the pressure switch opens and closes on cue, and check the igniter’s resistance. They also look at the flue for obstructions and inspect the condensate trap on high-efficiency units. Another airflow relationship appears here: a clogged filter or blower wheel can trip an overheating limit switch, turning off burners to protect the heat exchanger.
Preventing repeat breakdowns after the fix
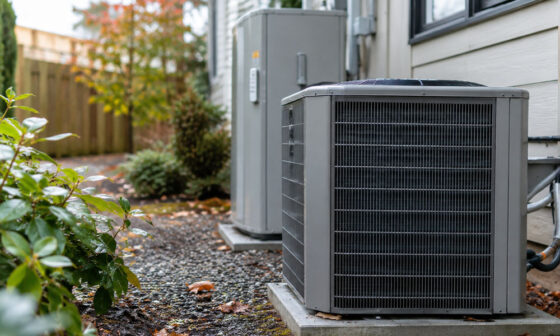
A few low-effort habits reduce repeat calls. Match filter type to your return size and blower: a very high MERV filter in an undersized return can raise static pressure more than the system tolerates. If you want finer filtration for smoke or allergens, consider a media cabinet with more surface area instead of cramming a restrictive one-inch filter into a small grille. Keep the outdoor condenser coil clear by trimming vegetation within two feet and rinsing debris off the fins from the inside out. Flush the condensate drain with a mild vinegar solution and test the float switch so a backed-up line doesn’t flood the pan. Finally, avoid shutting too many supply registers; doing so forces up static pressure, drives air leakage at weak duct joints, and reduces coil airflow.
Understanding the sequence of an HVAC repair visit helps the conversation at your door. Expect early checks to rule out control and power issues, then targeted tests on airflow, electrical components, and refrigerant charge to narrow causes with data. In real terms, a clogged filter can masquerade as a refrigerant problem, and a weak capacitor can make a healthy compressor look bad. When a technician explains superheat, subcooling, or why cleaning a flame sensor caused a shutdown, you can connect the dots and choose between short-term fixes and longer-term corrections with confidence.